
After working with SQL Developer for over 10 years, I’ve decided to make a switch. SQL Developer is no longer my preferred IDE for SQL. Oracle has introduced a new tool that is just as powerful as SQL Developer but comes with additional features such as dark mode and theme support.
Introducing the Oracle SQL Developer Extension for VS Code. In this tutorial, I will show you how to set up the Oracle SQL Developer extension and connect it with VS Code. You will learn how to write and execute SQL and PL/SQL queries like a pro.
Step 1: Install VS Code Extension for Oracle Database
To install the VS code extension for Oracle Database, you need to have VS code installed on your system. I assume you already have that.
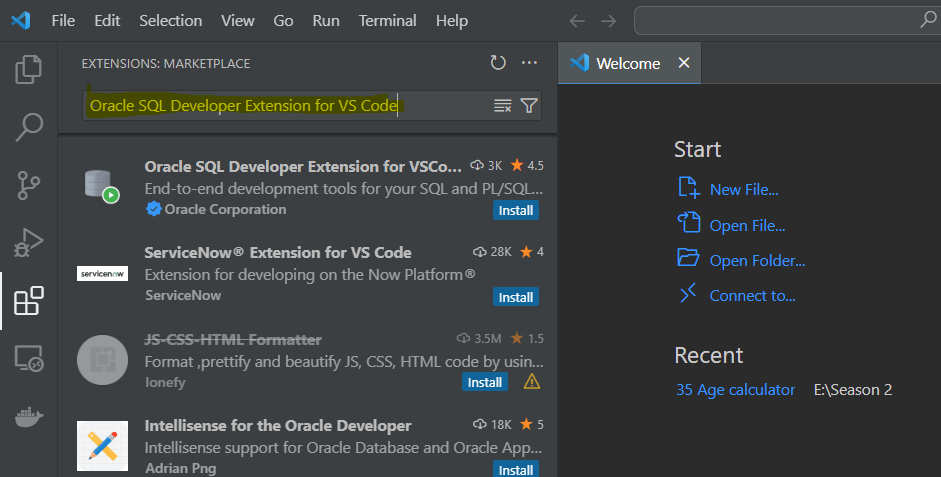
After installing VS code, go to the marketplace and search for “Oracle SQL Developer Extension for VS Code”. Alternatively, you can download it directly from this link.
Then click Install and wait for 10 seconds. The extension will be installed on your VS code.
Step 2: Create Oracle Database Connection On VS Code.
Once you have successfully installed the “Oracle SQL Developer Extension for VS Code,” the next step is to set up the Oracle Database connection on VS Code. To do this, you must have any version of Oracle Database installed, either on your local system or remotely.
If you don’t have Oracle Database installed on your system, you can refer to my tutorial on “How to install Oracle Database 21c”
I’m using Oracle Database 21c for the demonstration, but the steps remain the same for any database from Oracle 12c and later.
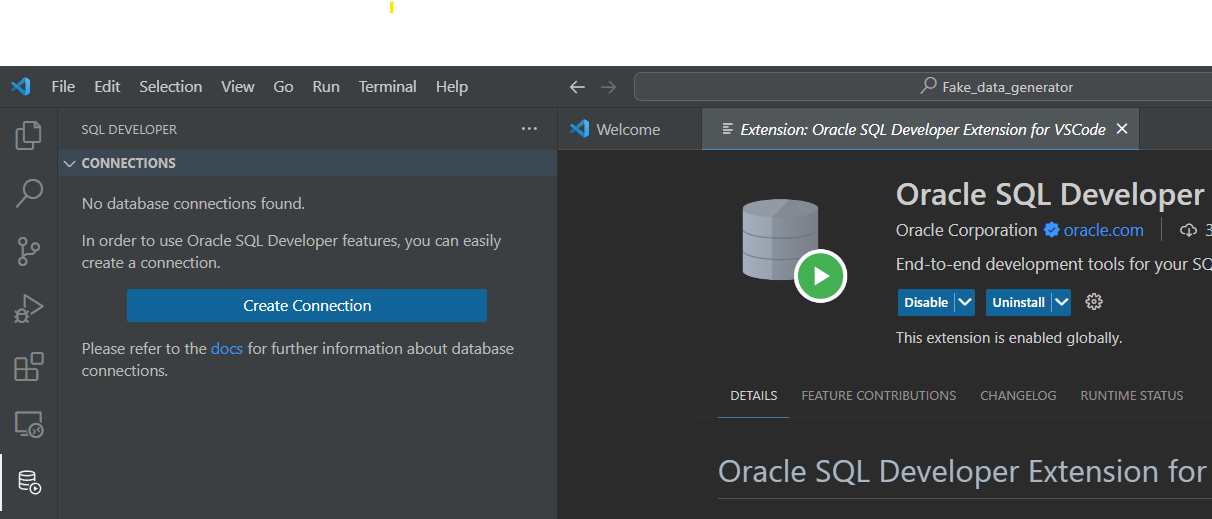
After installation, you’ll find the good old SQL Developer logo on the left-hand side. Click on it and select “Create Connection.” This will open the CREATE CONNECTION form. Fill in your connection details. For this demonstration, I’ll use the SYS user of my database.
Let’s fill the CREATE CONNECTION form to connect with Oracle Database on VS Code.
Start with the connection name – name it whatever you prefer. I’ll name it SYS@localhost.
Leave the authentication type on default and move on to the role. Since I’m connecting with the SYS user, I’ll set the role to SYSDBA. Next, enter the username as SYS, and the password is the one you set during the installation.
Check the “Save Password” checkbox and move to the connection type. Keep it on BASIC and fill in the remaining details.
As my database is on the local machine, the hostname will be localhost. If your database is on a remote machine, set the IP Address accordingly. The port remains 1521 unless modified during installation. The type should be SERVICE name, and the “Service Name” will be ORCL for connecting to the container database or ORCLPDB for the pluggable database. I’ll set it up with ORCLPDB.
Click TEST. If the connection test is successful, click Save.

Step 3: Connect with Oracle Database on Visual Code
Go back to the left-hand side menu bar click on the SQL Developer icon and go to the connection panel, right-click on the newly created connection, and choose “Open SQL Worksheet.” This is your playground – feel free to write all your SQL code here.
To execute, simply press Ctrl + Enter.
There you have it
This is how you can connect Oracle with Visual Studio Code in just three simple steps. If you have any doubts, you can watch the video where I show you all these steps live.
Thanks and have a great day


")


